How to Convert a White Shirt
As seen on the Today Show: A white shirt is the perfect blank canvas for unleashing your inner designer and creating a look that’s uniquely you.
All you need is a white shirt, trimming fabric and thread to match your trimming fabric.


WHAT IF I CAN’T SEW?
This conversion is straightforward and easy to do if you have basic sewing skills. If not, the machinist at your local dry cleaners can make the alterations for you. It’s worth making this small investment – you’re creating your own ‘designer’ shirt so having that professional finish will help make it look extra-special at a fraction of the cost of buying it new.
STEP 1: CHOOSING YOUR TRIMMINGS
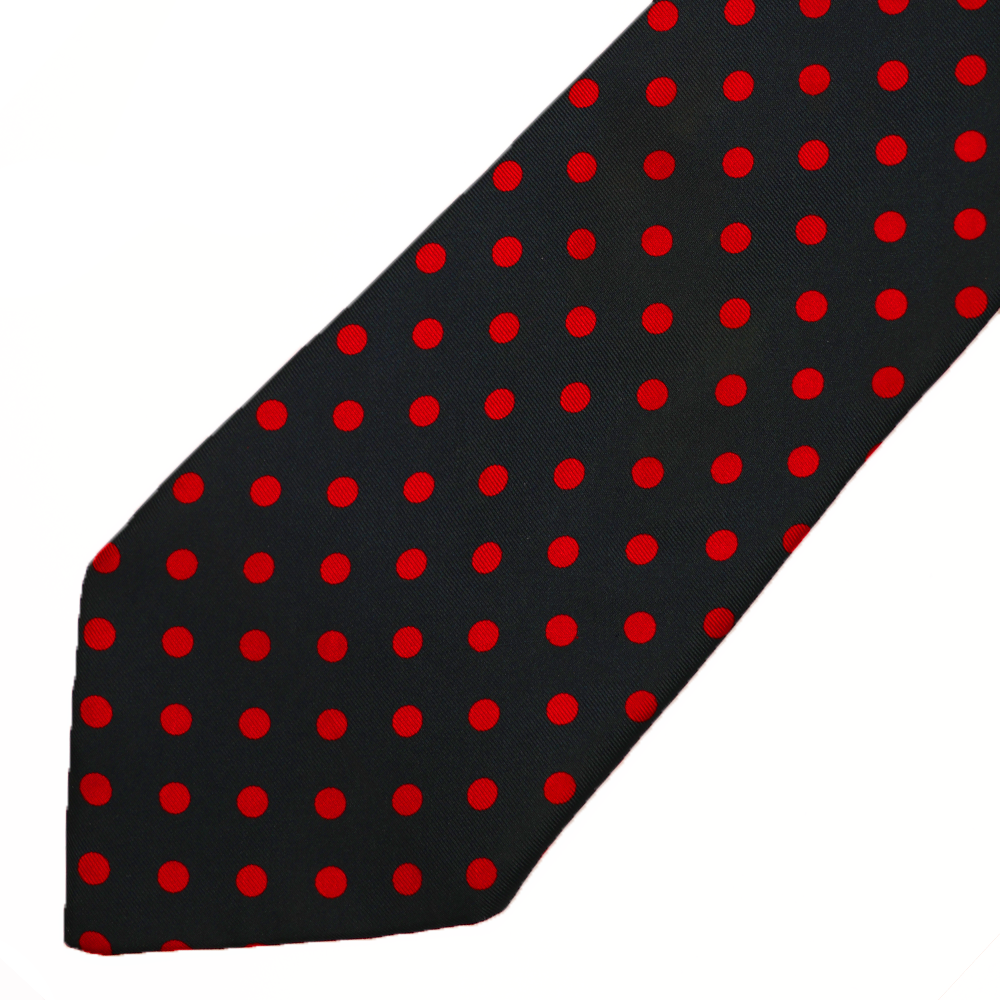
Men’s ties are a great way to source small quantities of good quality fabric in every colour and pattern. Go wardrobe-raiding (will the men in your life *really* notice a few missing ties?) or head for the thrift shops – there are no rules, grab the colours you love or the patterns you’re drawn to.
If you want to go more bespoke, sites like Etsy and eBay are bursting with new and vintage trimmings.
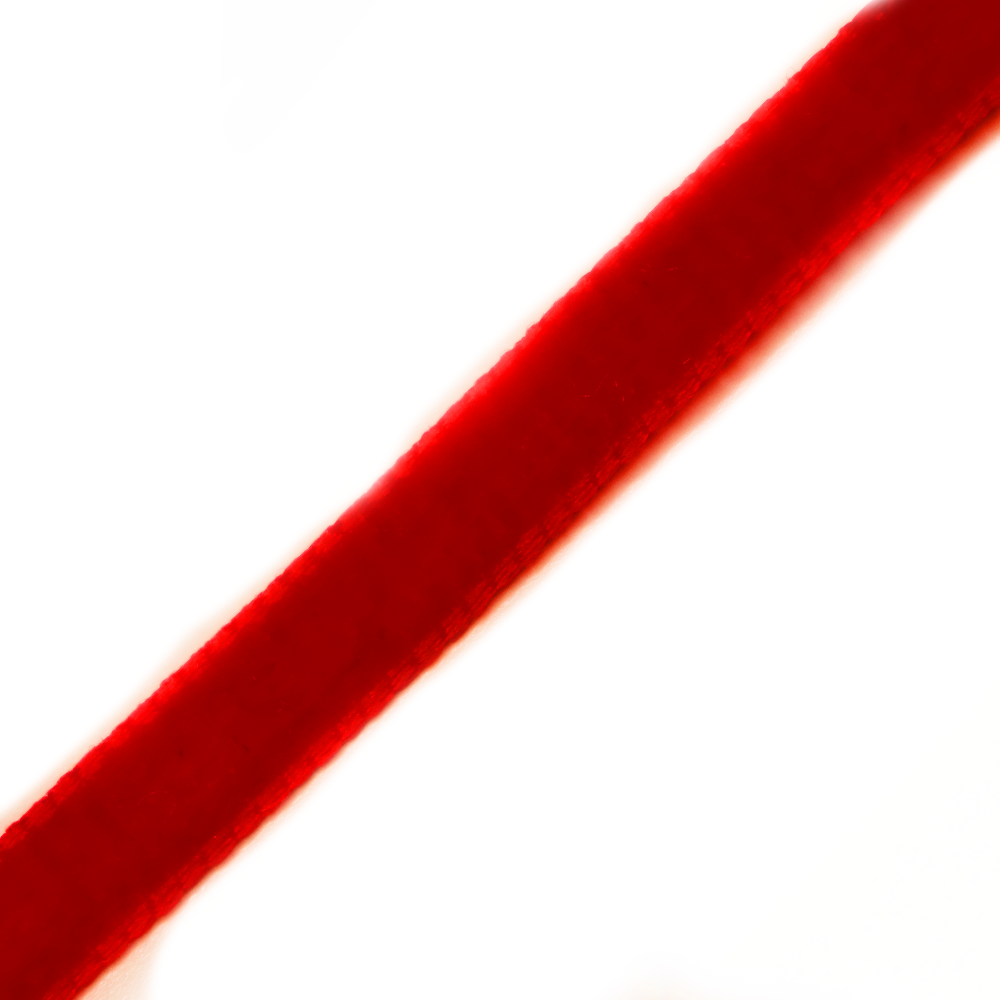
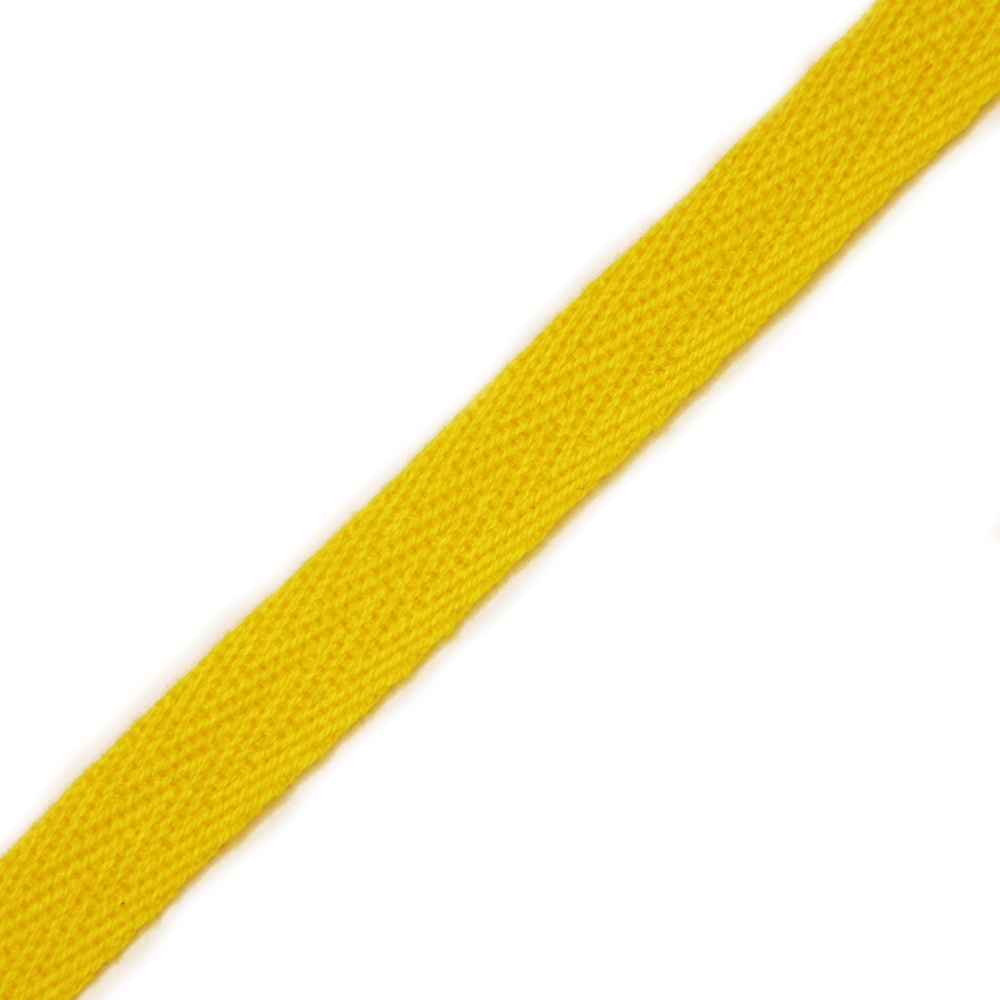
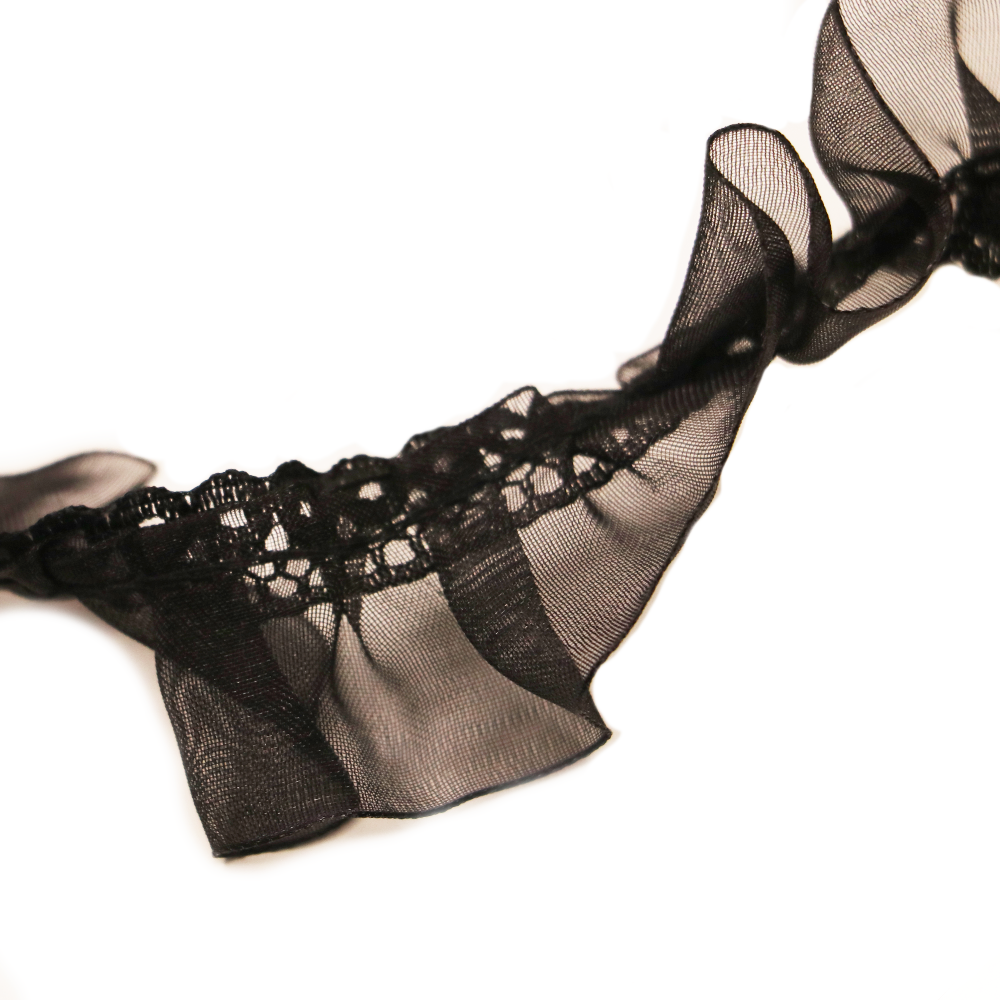
Use the search terms ‘trimmings’ or ‘ribbons’ and you’ll find incredible options. Look out for layering lace, ribbons, metallics, stripes, ready-made frills – you’ll feel inspirated and the ideas will flow.
For colours, you could go for subtle tones or dramatic pops – open your mind and let your inner designer run wild – that’s the fun of conversion.
STEP 2: THE SECRET OF SYMMETRY
The Secret of Symmetry is one of the greatest fashion tricks used by the biggest designers…and yet it’s so easy to re-create at home with our own clothes.
As humans, our brains are wired to look for symmetry and balance because it has a subliminal soothing effect on us. When you add a new colour to your garment and replicate it elsewhere, your outfit will instantly appear more harmonious and ‘finished’.


The replication can be as tiny as using a matching thread to sew on a button – or as dramatic as covering your cuffs with the new colour. The balance is up to you but, by following the secret of symmetry, your outfit will always appear finished with a designer touch.
STEP 3: CREATING A COVERED STAND COLLAR
To create a covered stand collar, simply cut off the existing collar.
Which sections you cover are up to you. You could cover the inside of the collar for a subtle look or cover the outside for a bolder pop or, of course, cover both for maximum impact.
Simply ask the machinist at your local dry cleaner to cover the collar and match the thread to your fabric.


Tip: Always mock up before you make
Stand in front of the mirror wearing the shirt, place the fabric over the collar to mock it up and check you like the way it looks. Play around with the positioning until you find the combination and look you love.
Tip: Collar shapes
- For longer necks, a collar can have a shortening effect, bringing your neck into proportion
- For shorter necks, a stand collar or collarless neckline can be flattering because it gives the illusion of elongating your neck.
STEP 4: COVERING THE CUFFS
Cover the inside of your cuffs with fabric means you can then turn them back and push them up your arms for a fun, smart/casual look.

STEP 5: OVER-SEWING THE BUTTONS
Over-sewing existing thread, using new thread matching the most dominant colour in the collar and cuffs, is the secret of symmetry in action, and will connect elements of the garment and give a designer feel to the piece.

And there you have it…a ‘new’ designer shirt that no one else on the planet will have.

Congratulations – you are now officially a sustainable ‘conversion designer’!
Follow me on instagram for a chance to win this outfit!

2 replies to “How to Convert a White Shirt”